Hosting a Ghost Blog on AWS using Lightsail and docker

Intro & Context
For a long time now, I've been self-hosting many of services at home for personal use (more on that in another post yet to be written), which has been a key part of my personal learning across a range of things including networking, docker, and Linux command line. I’ve previously had installations of Wordpress and Ghost on my home network, but decided not to continue further after initial exploration as I didn’t want to keep an externally available blog on my local network.
I typically like to have control over the things I deploy and work on so, despite the simplicity of setup, I had a preference not to utilise one of the available paid hosting services for Ghost and after some personal and professional learning around AWS, I decided it was finally time to utilise some AWS services for creating this blog and sharing my experience.
In terms of prerequisites, the only proper requirements are to have an AWS account and a domain and a hosted zone for your domain (I used Route53, or R53, for both). Though I will make reference to how I set this up, I would recommend starting with purchasing and setting up your domain as it can take a little time for registration to complete. Similarly, I will highlight all relevant steps I carried out for deployment, buy some basic understanding of AWS Lightsail, AWS Cloudformation, Linux command line, Docker, and yaml would be beneficial.
Design Decisions
Before progressing any further, there are a couple of important design or architecture decisions that I should describe. It’s worth noting there are rarely “right” answers for these, I just wanted to share my own thinking.
- First, why Lightsail? The short answer is for simplicity, but rather than regurgitate AWS docs, it's better to just provide the link - https://aws.amazon.com/lightsail/features/.
- Next, Ghost as a package (AWS documentation available here and here) or docker container? This might be a little trickier as it will really depend on your comfort working with both Linux command line and docker, but the main reasons I went with docker were portability should I decide to move hosting elsewhere (should be simpler), and configuration as I felt more confident configuring reverse proxy, SSL and updating configuration options via docker-compose.
- There are a few options for reverse proxy, but two popular ones I considered are nginx and caddy. I went with Caddy as I felt as though it had the most straightforward setup for a single web service (caddy reverse proxy docs).
- Finally, AWS Console vs Cloudformation deployment. On this one, the primary driver was for experience and learning. Beyond that, there are a couple of smaller benefits should you choose Cloudformation such as making it a little easier to create multiple environments such as a development deployment as well as making the process of tearing down and redeploying simpler and quicker.
Lightsail Deployment
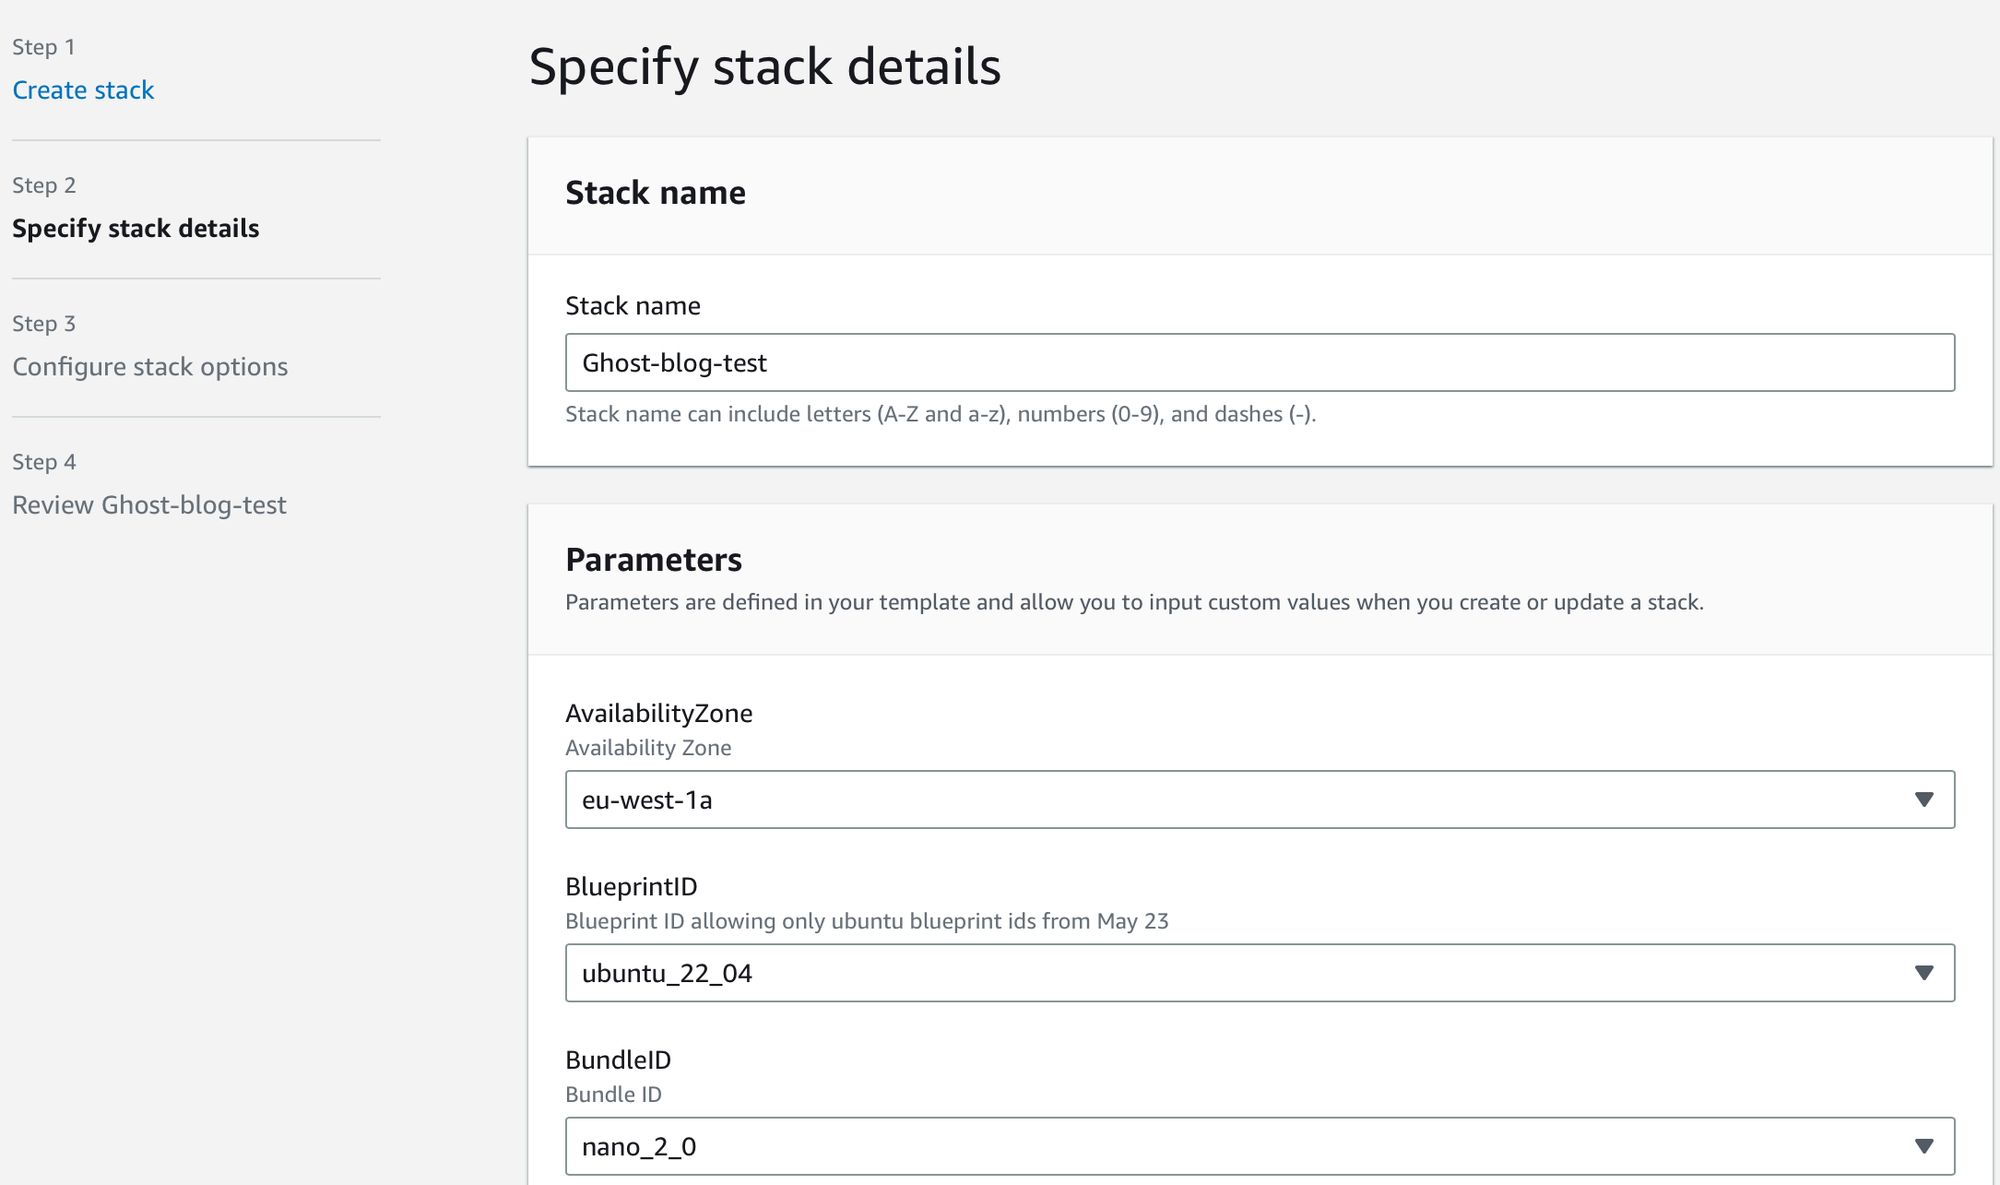
Now into the deployment itself. I created the below Cloudformation template iteratively by first writing a basic template to instantiate a Lightsail instance, then writing a docker-compose.yaml and testing locally, then putting the two together so that the template carries out some actions when the instance is first launched. These can be seen under the metadata, but essentially include
- Installing docker
- Creating the docker-compose file
- Creating the Caddyfile for caddy configuration
It’s worth noting that including restart:always will make sure the docker compose is run after an instance restart.
Description: AWS CloudFormation template for lightsail instance
Parameters:
AvailabilityZone:
Type: 'AWS::EC2::AvailabilityZone::Name'
Description: Availability Zone
InstanceName:
Type: String
Description: Instance Name
Default: ubuntu-blog
BlueprintID:
Type: String
AllowedValues:
- ubuntu_22_04
- ubuntu_20_04
- ubuntu_18_04
Description: Blueprint ID allowing only ubuntu blueprint ids from May 23
Default: ubuntu_22_04
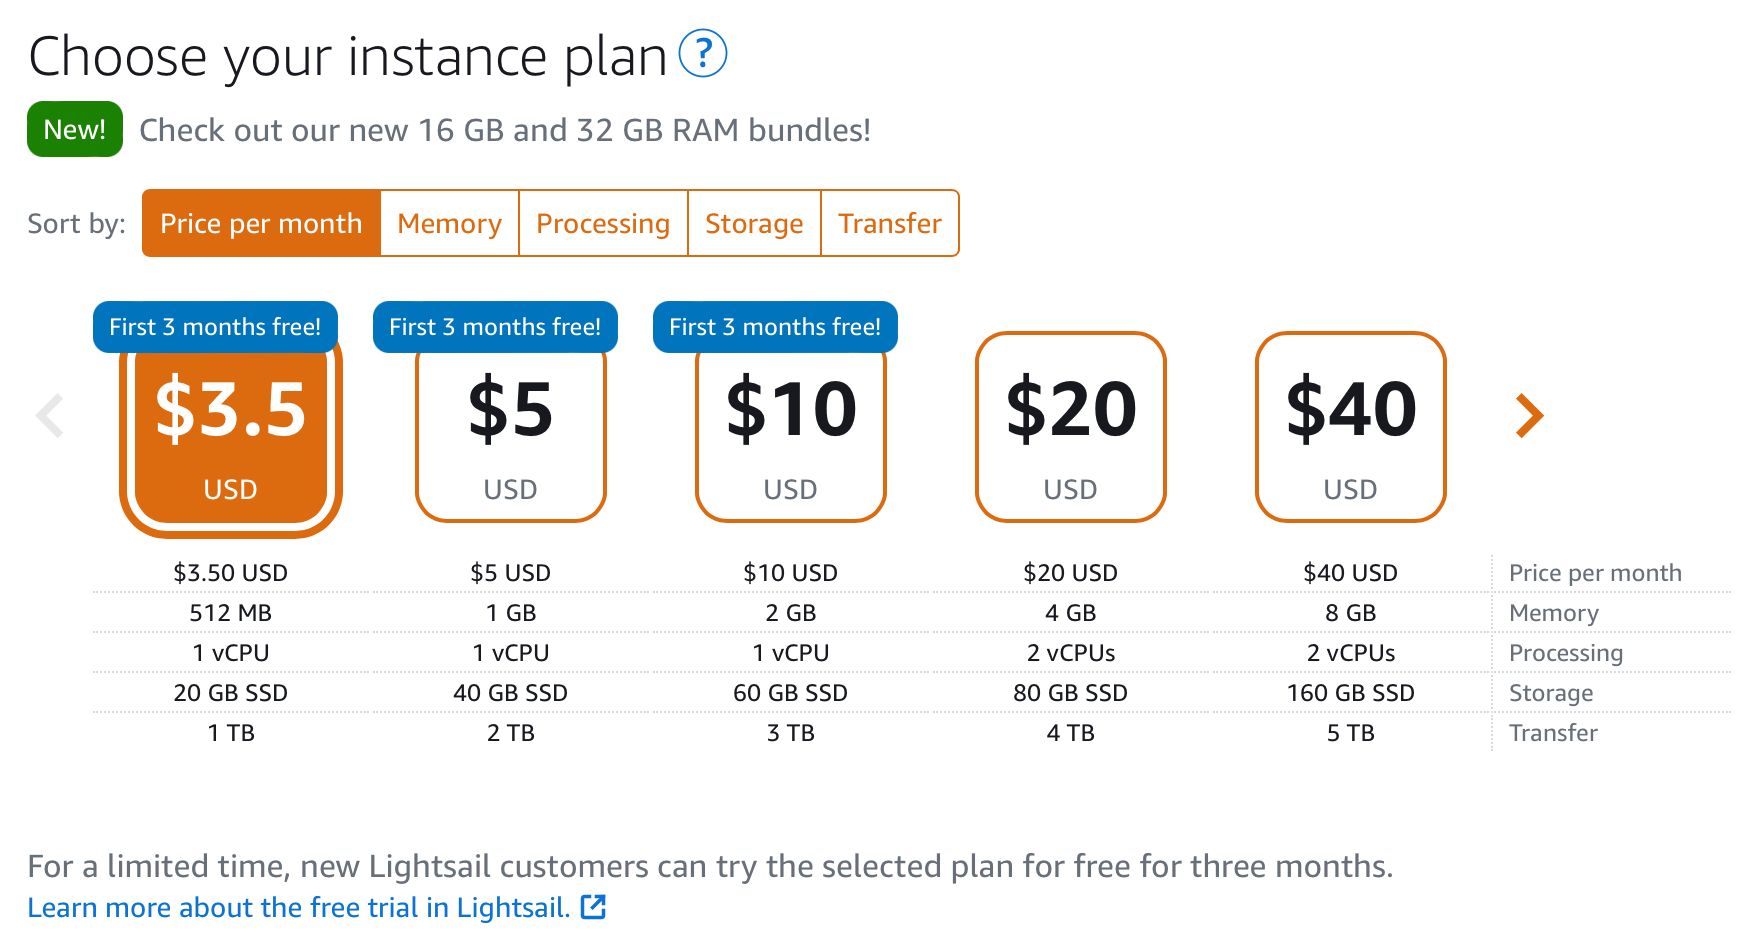
BundleID:
Type: String
AllowedValues:
- nano_2_0
- micro_2_0
- small_2_0
- medium_2_0
- large_2_0
- xlarge_2_0
- 2xlarge_2_0
- nano_win_2_0
- micro_win_2_0
- small_win_2_0
- medium_win_2_0
- large_win_2_0
- xlarge_win_2_0
- 2xlarge_win_2_0
Description: Bundle ID
Default: nano_2_0
ProjectTag:
Type: String
Description: Project tag attribute value
Default: da-blog-test
EnvironmentTag:
Type: String
Description: Environment tag attribute value
Default: development
Resources:
#Lightsail deployment
LightsailInstance:
Type: 'AWS::Lightsail::Instance'
Properties:
AvailabilityZone: !Ref AvailabilityZone
BlueprintId: !Ref BlueprintID
BundleId: !Ref BundleID
InstanceName: !Ref InstanceName
Tags:
- Key: project
Value: !Ref ProjectTag
- Key: environment
Value: !Ref EnvironmentTag
UserData: |
#!/bin/bash
sudo apt-get update -y
sudo apt-get upgrade
curl -fsSL https://get.docker.com -o get-docker.sh
sudo sh get-docker.sh
sudo systemctl enable docker.service
sudo systemctl enable containerd.service
sudo usermod -aG docker ubuntu
sudo curl -L "https://github.com/docker/compose/releases/download/v2.18.1/docker-compose-$(uname -s)-$(uname -m)" -o /usr/local/bin/docker-compose
sudo mv /usr/local/bin/docker-compose /usr/bin/docker-compose
sudo chmod +x /usr/bin/docker-compose
mkdir -p /home/ubuntu/docker/blog
mkdir -p /home/ubuntu/docker/blog/secrets
mkdir -p /home/ubuntu/docker/blog/caddy/data
mkdir -p /home/ubuntu/docker/blog/caddy/config
mkdir -p /home/ubuntu/docker/blog/ghost/content
cat << 'EOF' > /home/ubuntu/docker/blog/caddy/Caddyfile
{
email youremail@domain.com
}
yoursub.domain.com {
reverse_proxy ghost:2368
}
EOF
cat << 'EOF' > /home/ubuntu/docker/blog/docker-compose.yml
version: '3.8'
services:
ghost:
image: ghost:5-alpine
restart: always
ports:
- 2368:2368
environment:
# see https://ghost.org/docs/config/#configuration-options
database__connection__filename: '/var/lib/ghost/content/data/ghost.db'
# this url value is just an example, and is likely wrong for your environment!
url: https://yoursub.domain.com
# contrary to the default mentioned in the linked documentation, this image defaults to NODE_ENV=production (so development mode needs to be explicitly specified if desired)
NODE_ENV: development
volumes:
- ./ghost/content:/var/lib/ghost/content
caddy:
image: caddy:2.6.4-alpine
restart: always
container_name: caddy
ports:
- 443:443
- 80:80
volumes:
- ./caddy/Caddyfile:/etc/caddy/Caddyfile
- ./caddy/data:/data
- ./caddy/config:/config
EOFIn the above, make sure to adjust any relevant config, but noticeably the domain for which you have configured the appropriate A record in your hosted zone.
Next, I navigated to AWS Cloudformation in the AWS console to launch the template. I had previously uploaded the template to S3, but you can also directly upload it. Then follow the GUI steps as relevant.
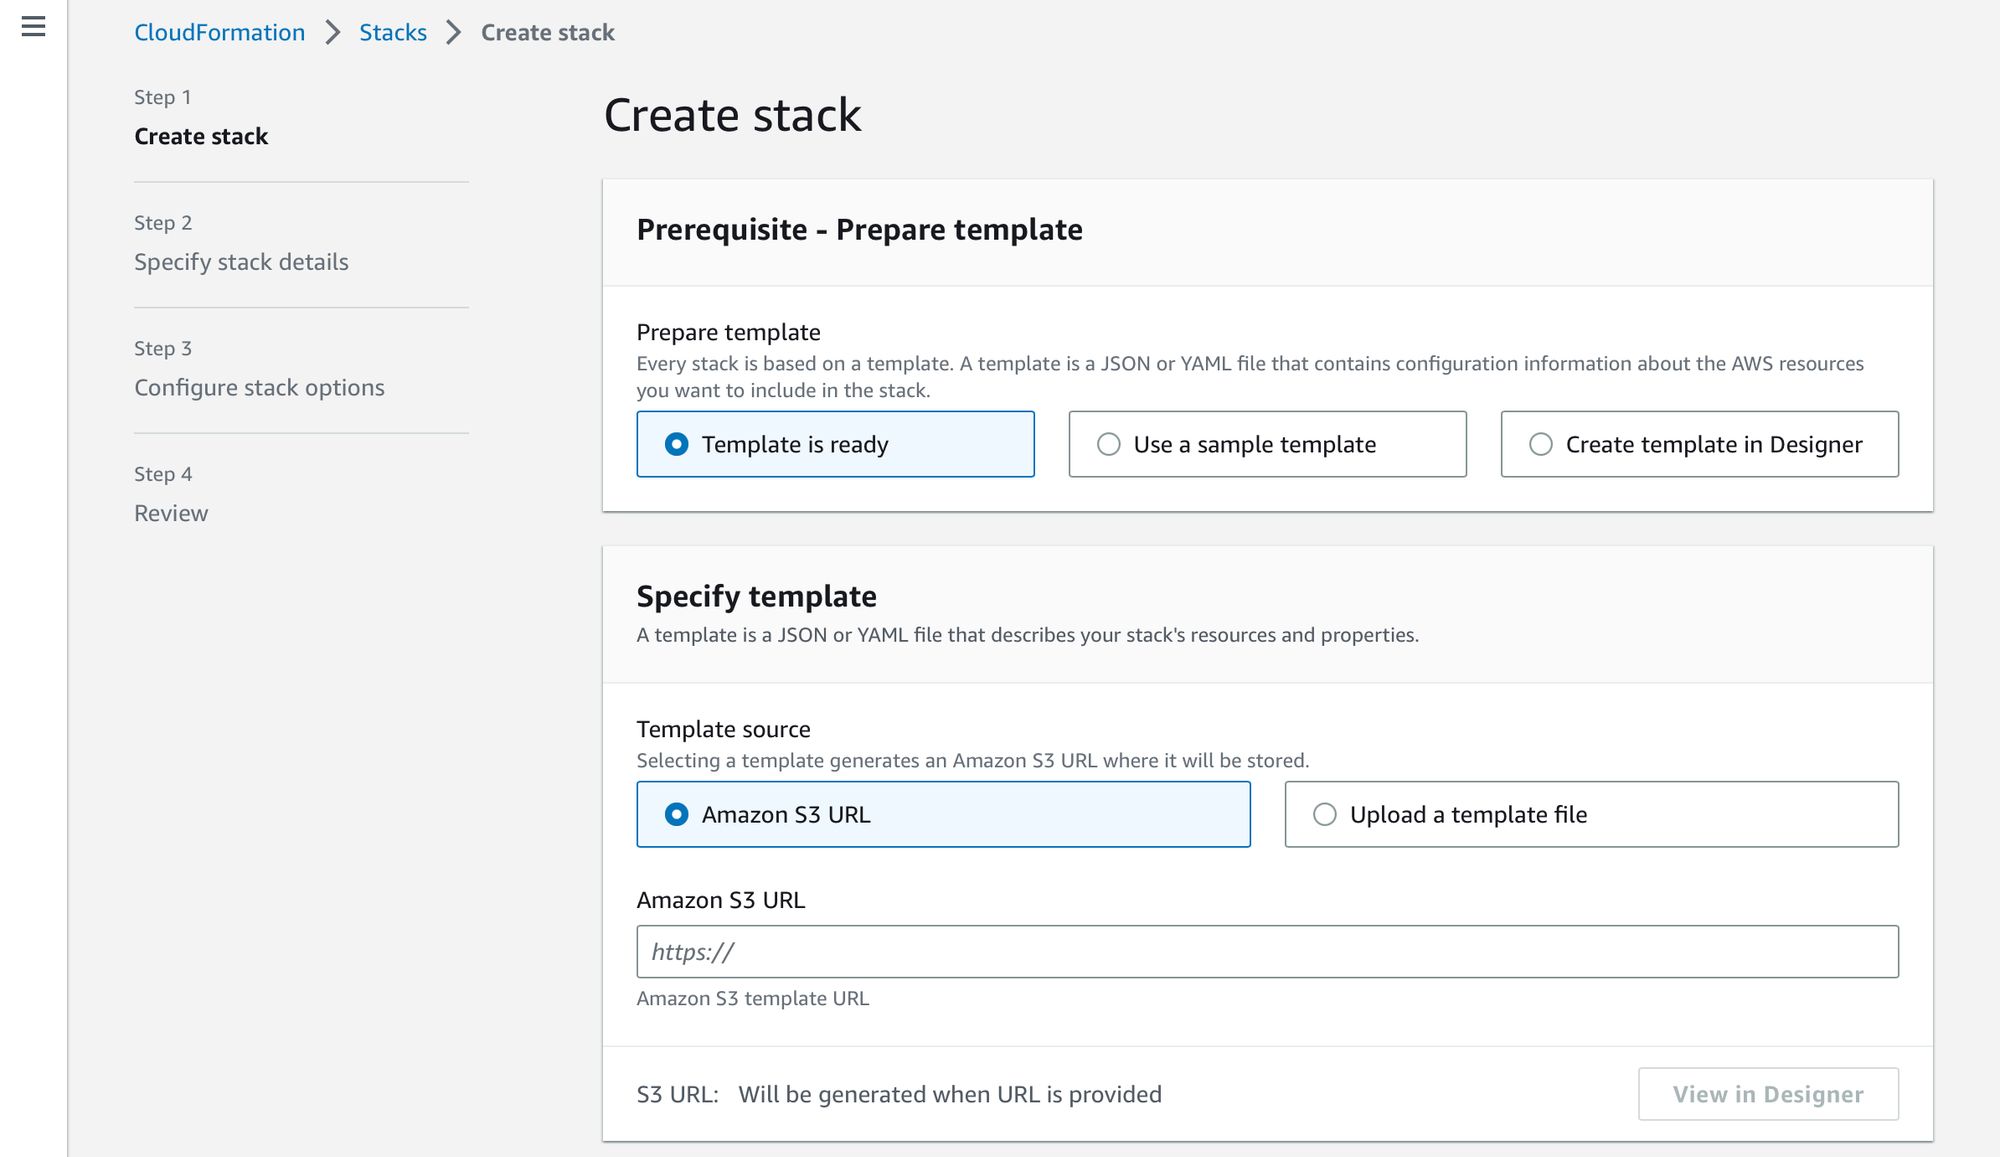
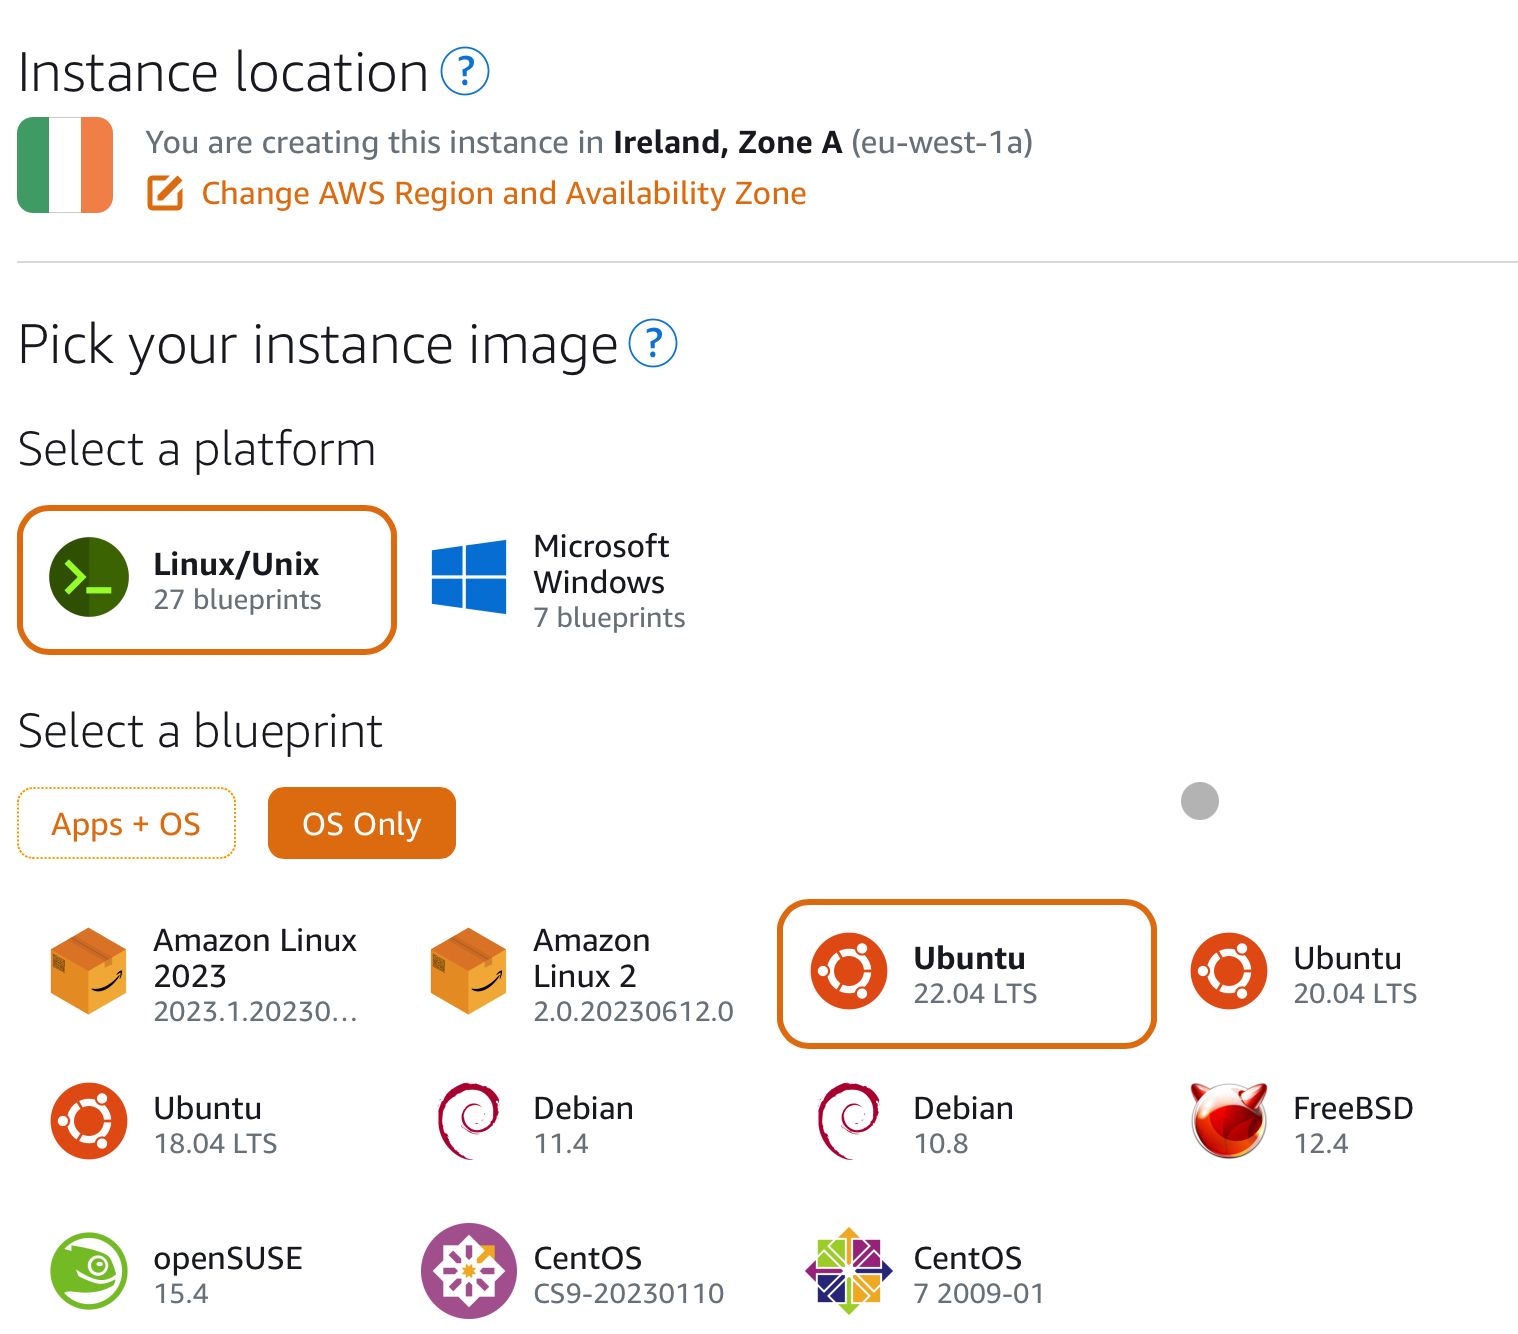
If you prefer, you could also conduct most of the steps to this point steps, aside from the metadata steps, via the Lightsail GUI. Should you choose this option, the commands in the user metadata could be conducted via SSH. Essentially, we are creating the cheapest instance with OS only.
Networking & Domain
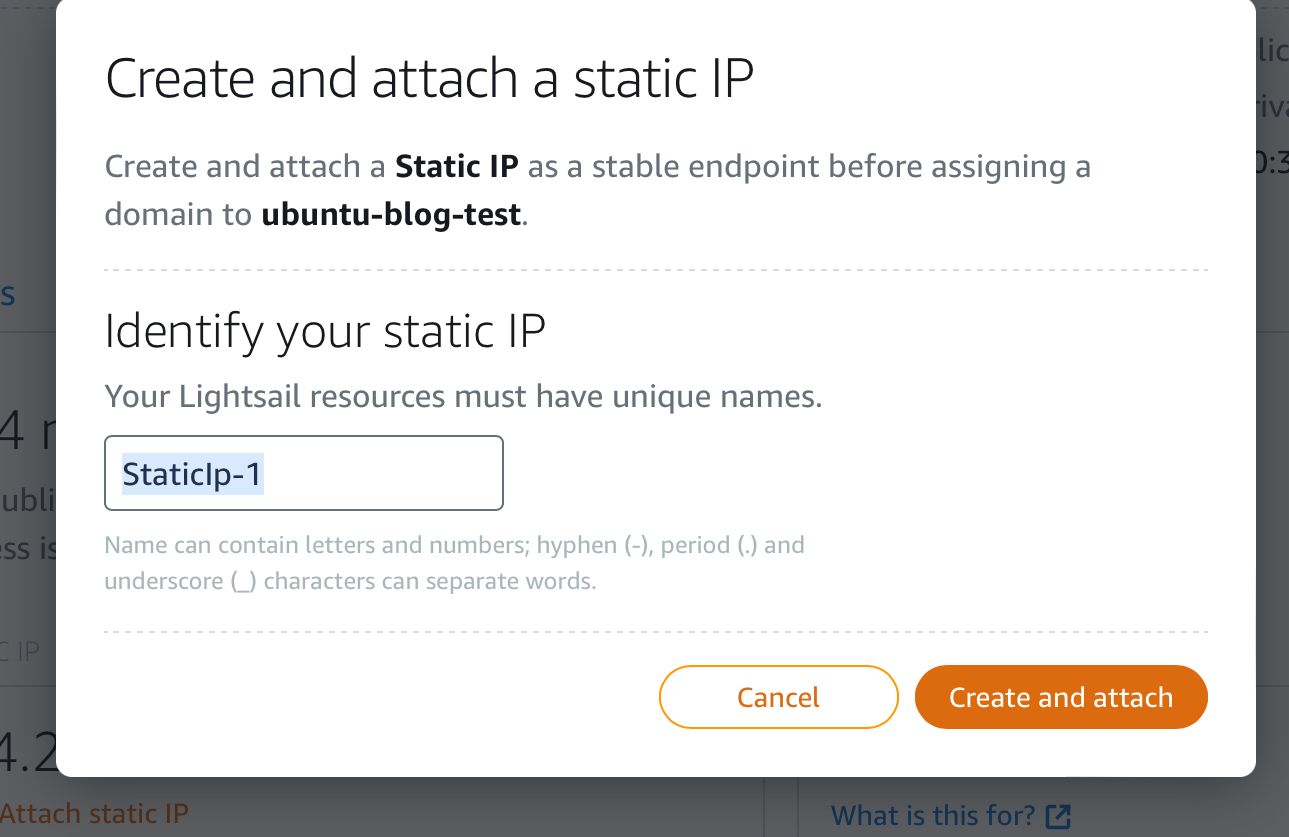
After the template launch has completed, I configured the instance to attach a static IP and added the relevant networking configuration to open the ports for HTTP and HTTPS access as well as limit SSH access to my individual IP.

At this point, you need to open R53 and add the relevant A record with the aforementioned static IP.
Finally, I connected to the instance to run the docker compose and create the stack. The commands here first change directory to where the docker-compose yaml was created, then lists the subdirectory contents, and creates the relevant containers.
cd /home/ubuntu/docker/blog
ls
docker-compose up -d
After all this, you should be able to go to yoursub.domain.com to see your new blog website, or yoursub.domain.com/ghost and begin configuring your blog.
Next steps
There are some things I haven’t discussed in this post in the interest of keeping it to the point, but I just want to call out some considerations after deployment.
- Security - we’ve mostly considered SSL certification to enable HTTPS, but there are some other next steps such as configuring a web application firewall, SSH security (key only), DNS healthchecks, DNSSEC, and others.
- I’ve set up some basic budget monitoring and alerts, but if you haven’t done so already these should definitely be considered.
- Setting up Ghost itself (well described at their website).
- Updating the docker container(s) manually, scheduled, or automatically using something like Portainer.